What Makes These Gluten-Free Nanaimo Bars So Addictive


Everyone seemed to reach for gluten-free Nanaimo bars before anything else. After years of adapting desserts and making them for family gatherings, this is the version I rely on. They’re easy to make ahead and have the creamy filling and chocolate topping I love most.
Jump to:
Moving to a new country meant learning hundreds of small things that nobody puts in official guides. You learn which grocery stores carry the bread you miss from home. How the children dress for snow. You learn that every community has its own way of welcoming people, often without saying very much.
Before I knew much about Canadian traditions, I spent many afternoons sitting on cold benches during youth sports games, school events, and community fundraisers. There were coffee urns, raffle tickets, paper napkins, and trays of homemade baking passed between strangers who somehow felt familiar. Someone always brought snacks. Long before I knew their name, I noticed Nanaimo bars.

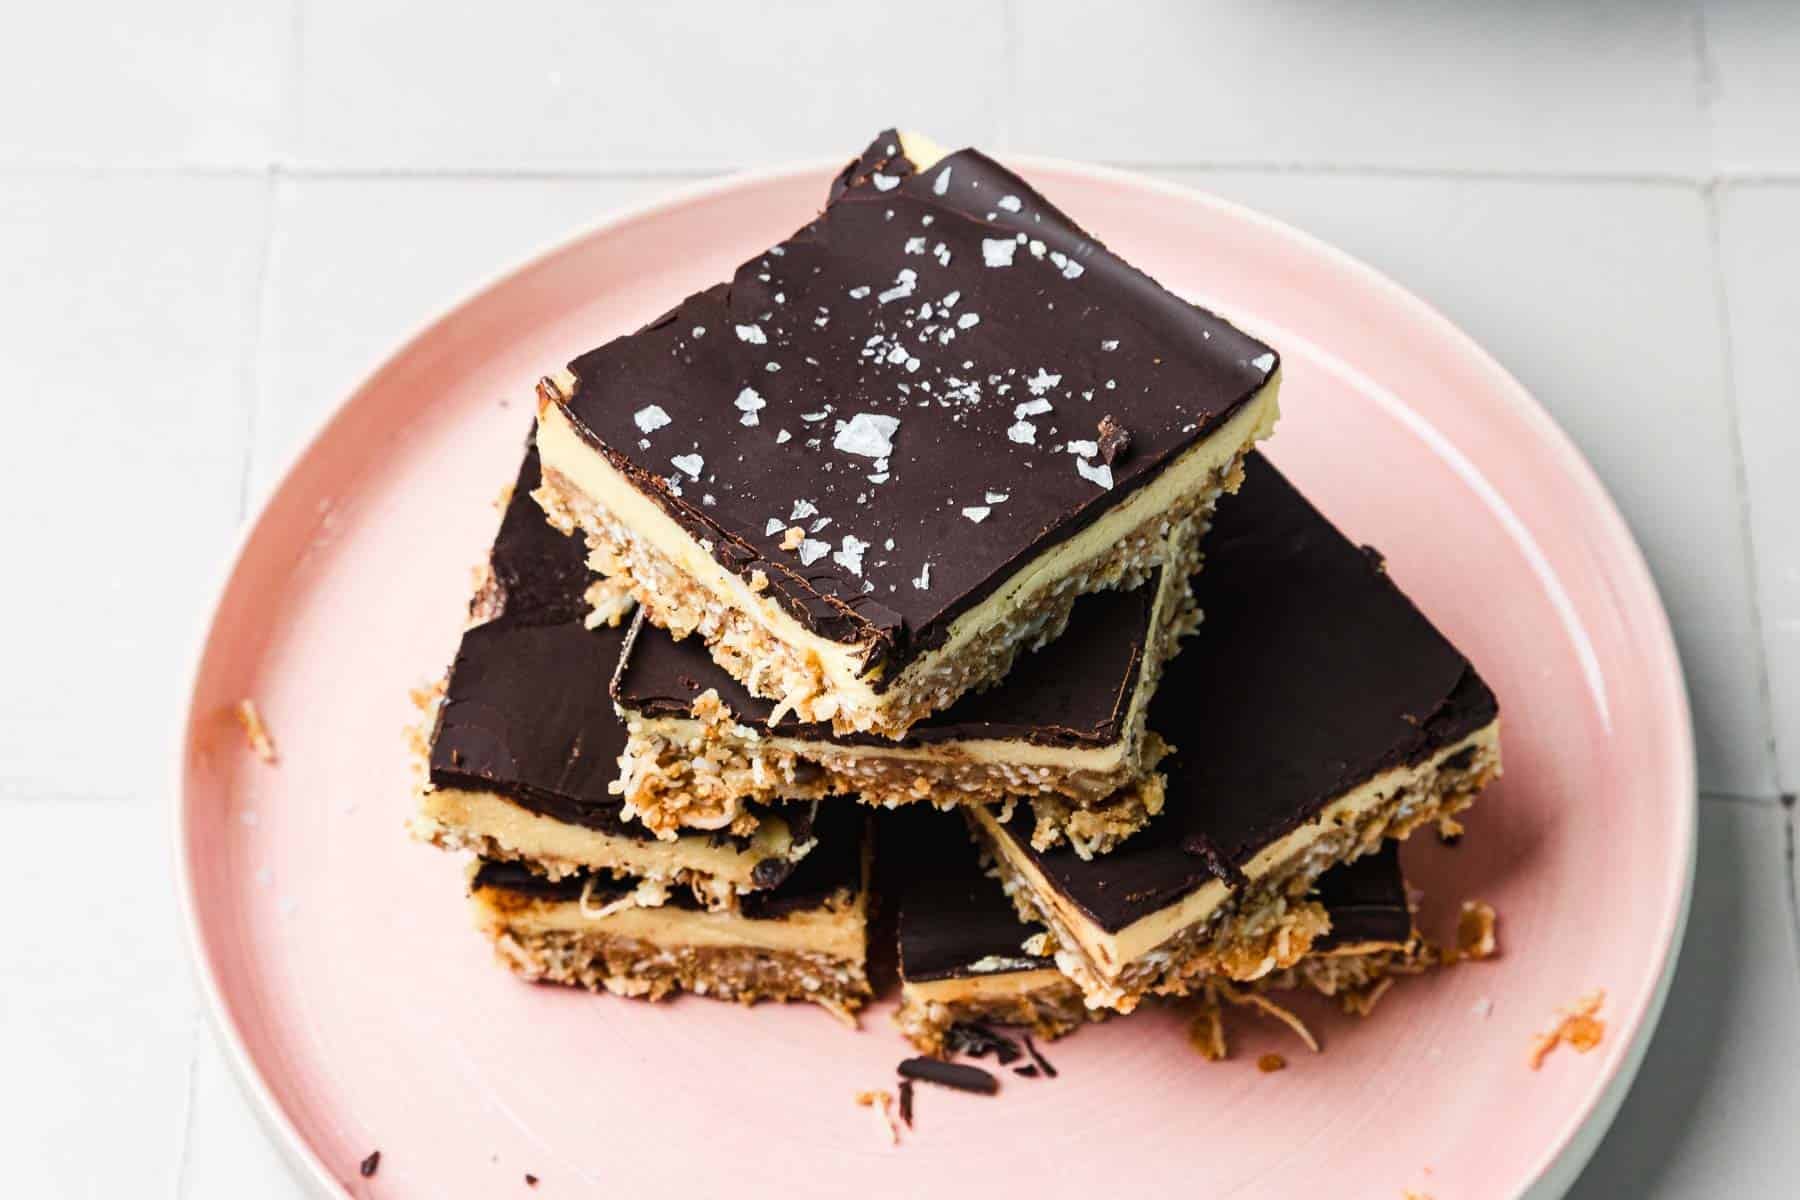
Three layers, neatly cut into squares, sitting beside butter tarts and banana bread. I remember wondering what that pale filling was and why everyone seemed to reach for these bars first. Years later, after building a life here, raising children, and finding my place between cultures, I still think about those early gatherings whenever I make gluten free Nanaimo bars.
I spent years making different layered desserts and adjusting recipes so everyone around our table could enjoy them. That same process led to recipes like my gluten-free Queen Elizabeth cake, which reminds me of old-fashioned Canadian baking with dates and coconut. On brighter spring days, I often make lemon cheesecake bars with lemon curd, especially when Lin asks for something she calls sunshine cake. Around Passover, I turn to my chocolate hazelnut bars, whose rich chocolate layer always disappears quickly.
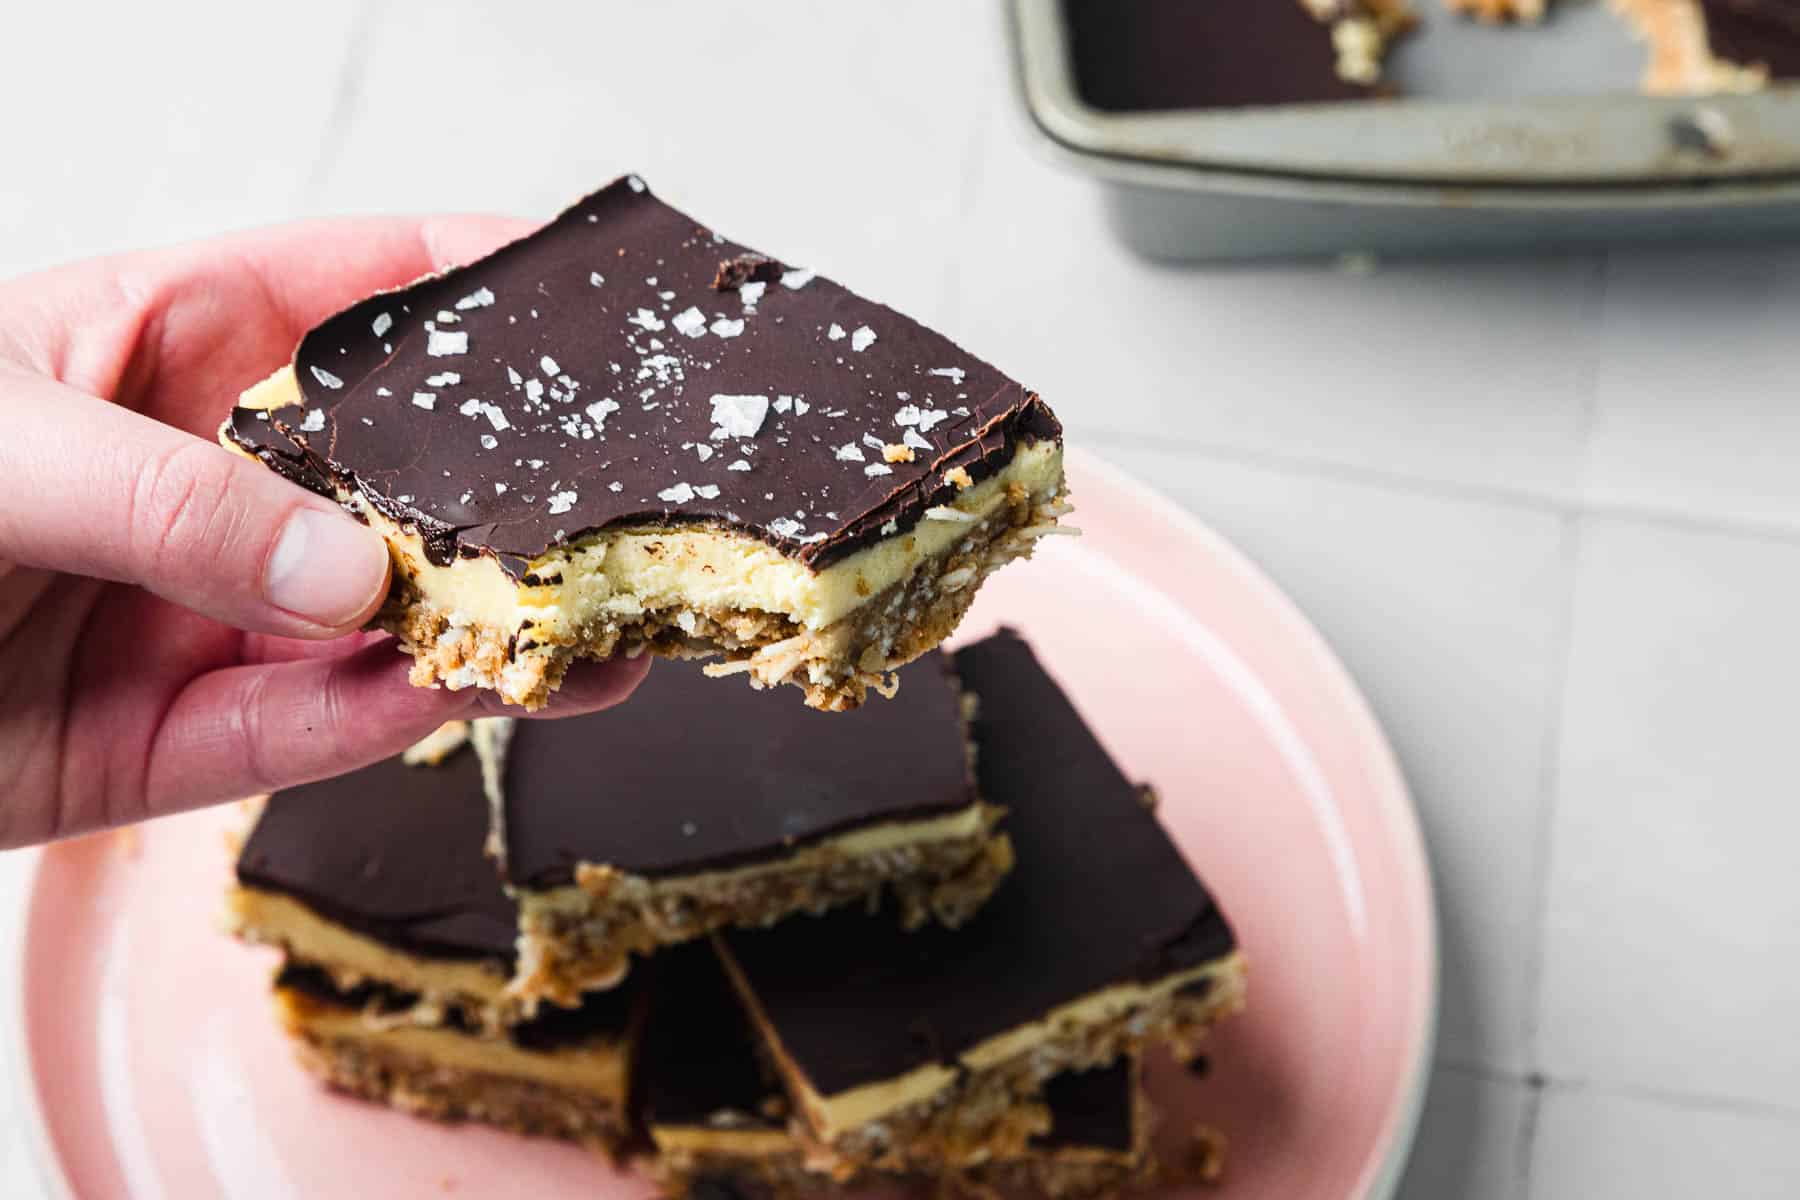
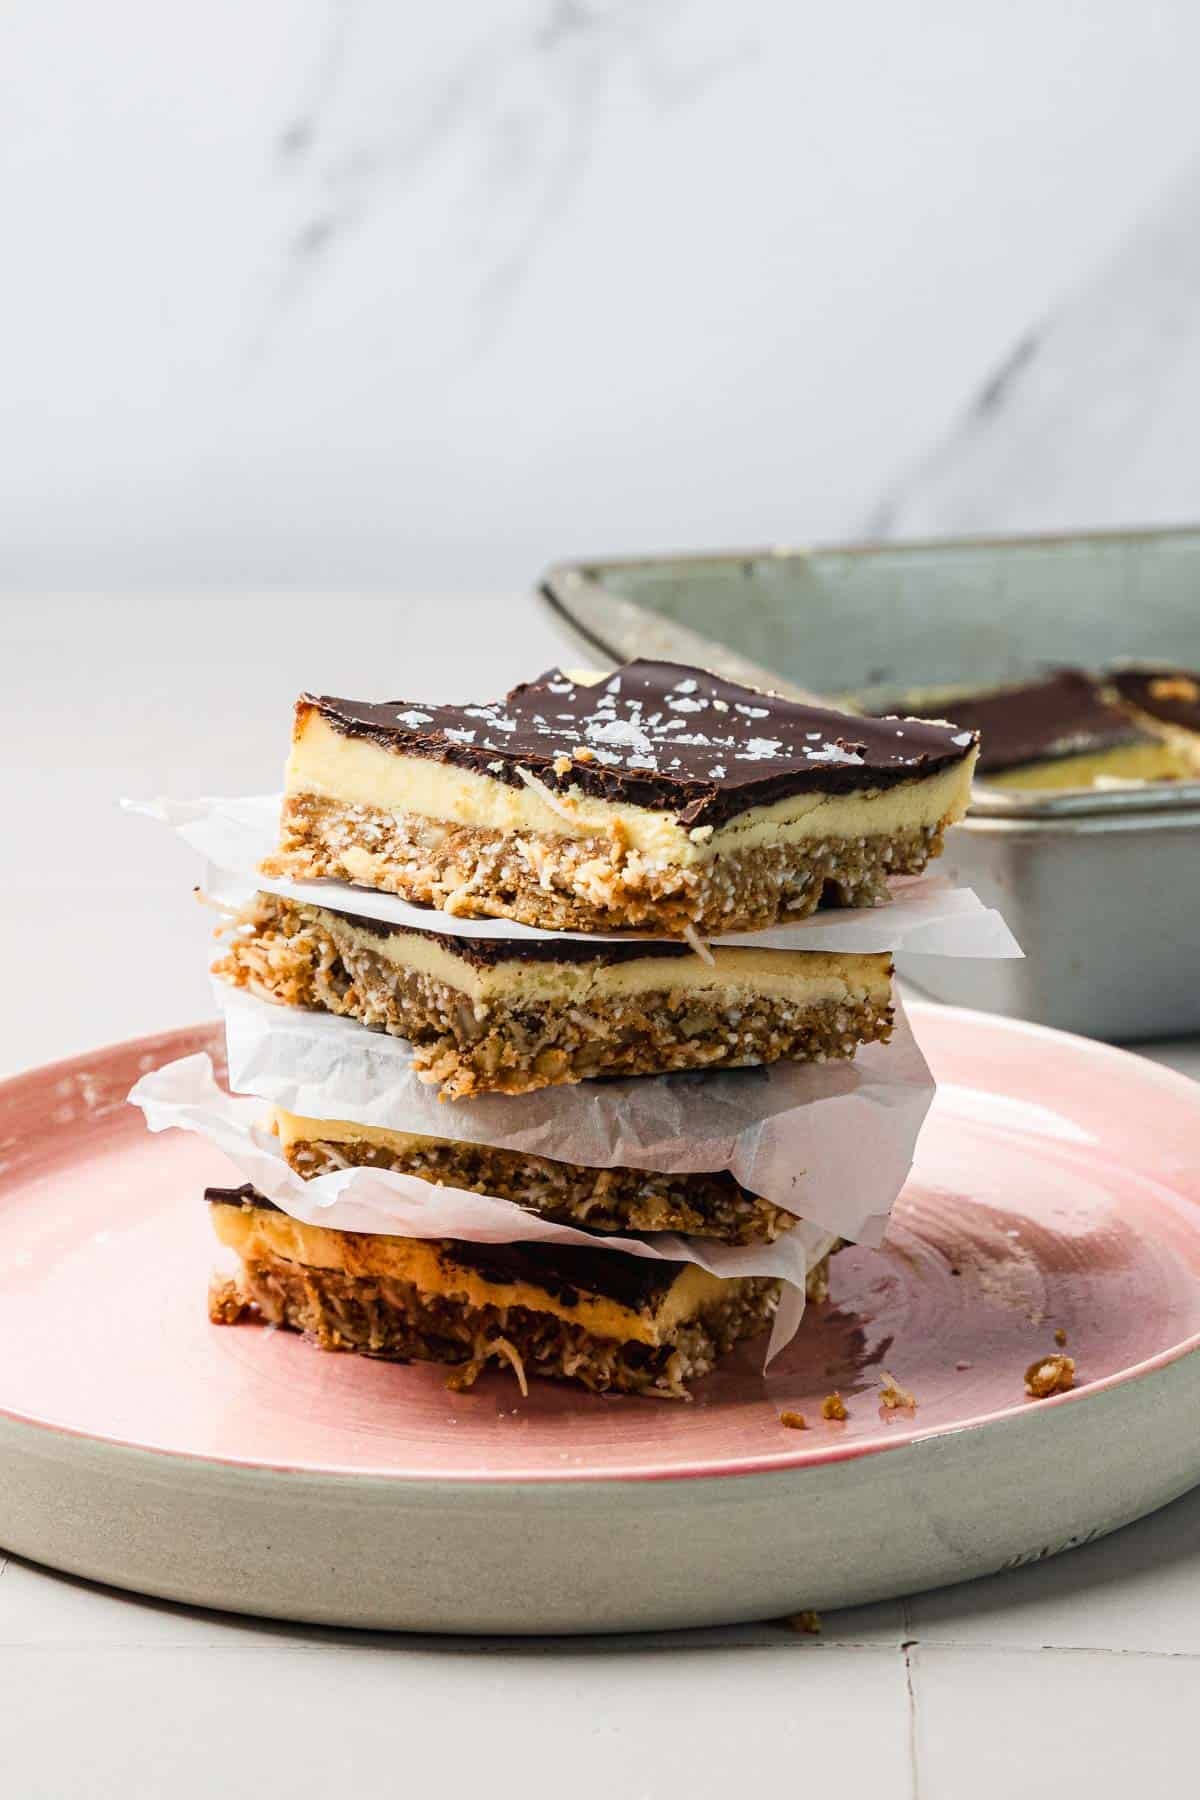
Those recipes taught me something valuable when developing these gluten-free Nanaimo bars. Texture matters as much as flavor. The base should hold together without becoming dense. The middle layer should stay creamy without feeling heavy. The chocolate top should break softly beneath the knife rather than shatter.
Last winter, Lin stood on his stool beside me while I prepared a batch for friends. At three years old, patience is still a work in progress. She kept peeking into the refrigerator every fifteen minutes, asking if the bars were ready yet. Leo, who is five, has learned that some desserts reward waiting.
F cut the first square while tea steamed nearby, and for a moment I thought again about those early Canadian community gatherings. About paper plates and hockey arenas. About learning a country through ordinary afternoons. There are recipes tied to holidays and milestones.
And then there are recipes like gluten-free Nanaimo bars, which remind me that belonging often grows quietly, one gathering at a time.
Ingredients
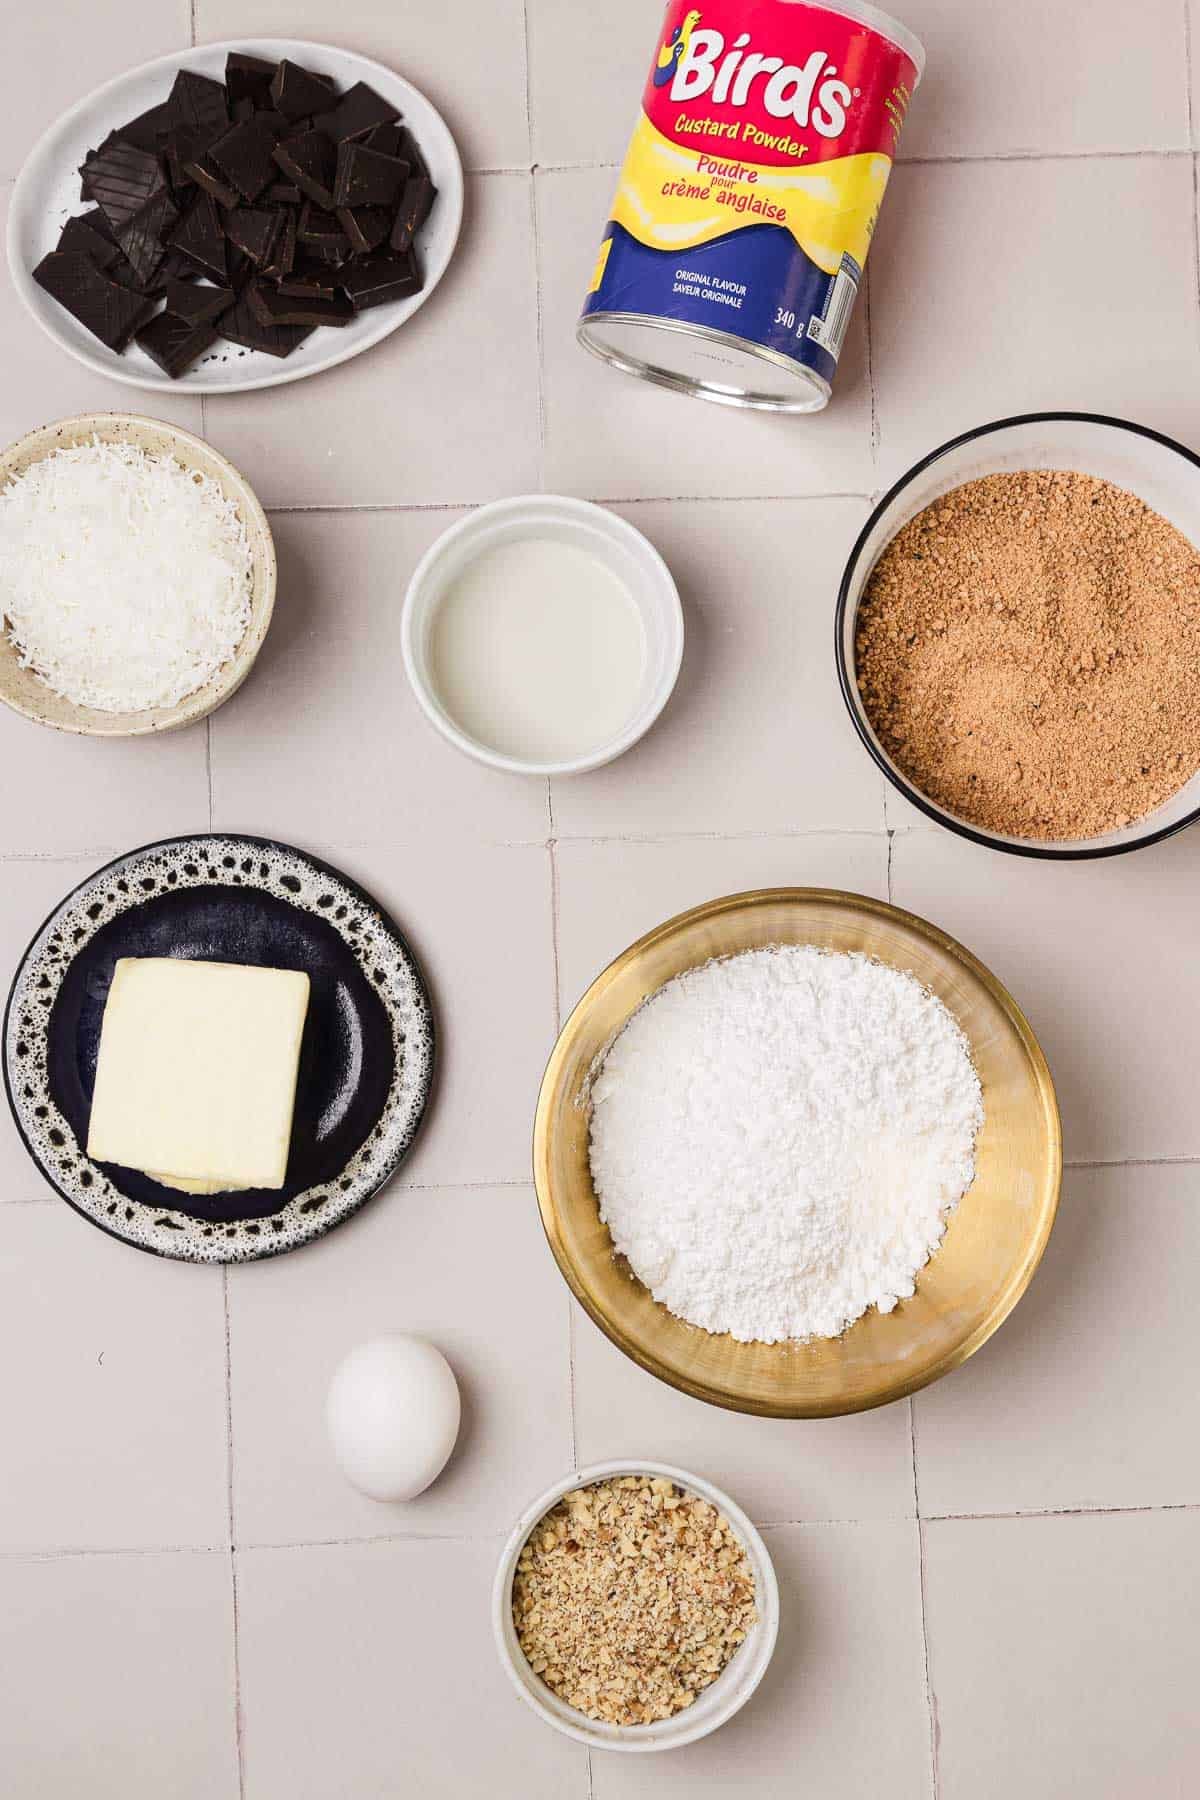
The base of these gluten free Nanaimo bars begins with gluten free graham cracker crumbs. After trying several combinations over the years, I still come back to graham crumbs because they create that familiar texture I remember seeing at Canadian community gatherings. They hold together well without becoming heavy. If graham crackers are difficult to find, gluten-free digestive biscuits work nicely too.
Unsweetened shredded coconut gives the bottom layer its characteristic chew. It is one of the ingredients that makes a Nanaimo bar It gives the base the chewy texture I associate with this Canadian classic. I have tried reducing the amount before, though the bars lost some of the texture I grew up associating with this Canadian classic. Sweetened coconut can be used, though it makes the bars noticeably sweeter.
The custard powder is what gives the middle layer its pale color and gentle vanilla note. Bird’s custard powder is the traditional choice and one I always keep in the pantry around the holidays. It creates the flavor people recognize immediately. Vanilla pudding mix can work in a pinch, though the filling tastes slightly different from the classic Canadian version.
Semi-sweet chocolate forms the top layer and balances the sweetness underneath. I prefer semi-sweet chocolate because it creates a smoother finish and keeps the bars from becoming overly rich. Dark chocolate works well if you prefer a deeper chocolate flavor.
See the recipe card for the full list and exact quantities.
Top Tips
Slice Before the Chocolate Turns Rock Hard – I learned this after cracking more than one batch into uneven pieces. Once the chocolate layer has set slightly but still feels a little soft, lightly score the surface with a knife. When the bars are fully chilled later, they separate into much cleaner squares without the chocolate breaking apart.
Use Finely Chopped Nuts for a Better Texture – the first few times I made these, I used larger walnut pieces and found the bars difficult to cut neatly. Smaller pieces create a base that holds together better and give each bite a more even texture. I usually pulse the nuts briefly rather than leaving large chunks.
Make Them Ahead if You Can – these gluten-free Nanaimo bars actually improve after a night in the refrigerator. The layers settle, the base becomes easier to slice, and the flavors have time to come together. I often prepare them the evening before a family gathering, which also makes dessert one less thing to think about the next day.
How to Make Gluten-Free Nanaimo Bars
These gluten-free Nanaimo bars come together in layers, and each one has its own texture to watch for. The base should feel sturdy without becoming hard, the center should stay creamy and spread easily, and the chocolate top should set firmly while remaining easy to slice. Here’s how I make them:
Combine the Dry Ingredients
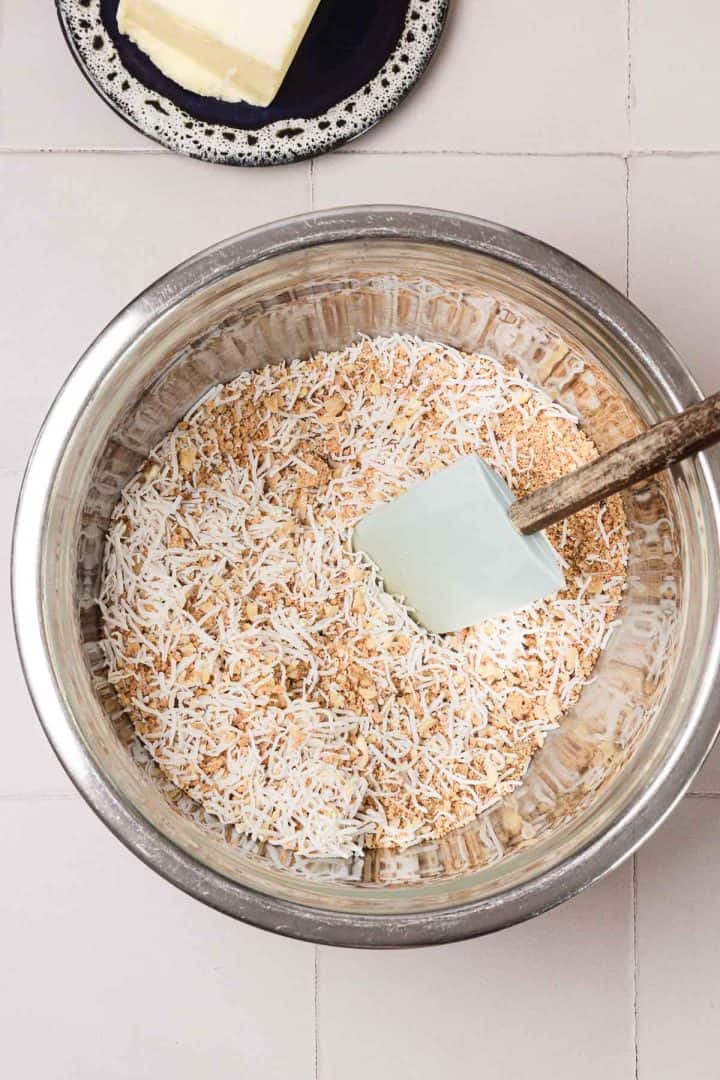
- You want the mixture to look evenly distributed, with no pockets of coconut or nuts gathered in one area.
- Finely chopped nuts work best here. The mixture should look loose and sandy before the wet ingredients are added.
Add the Wet Ingredients
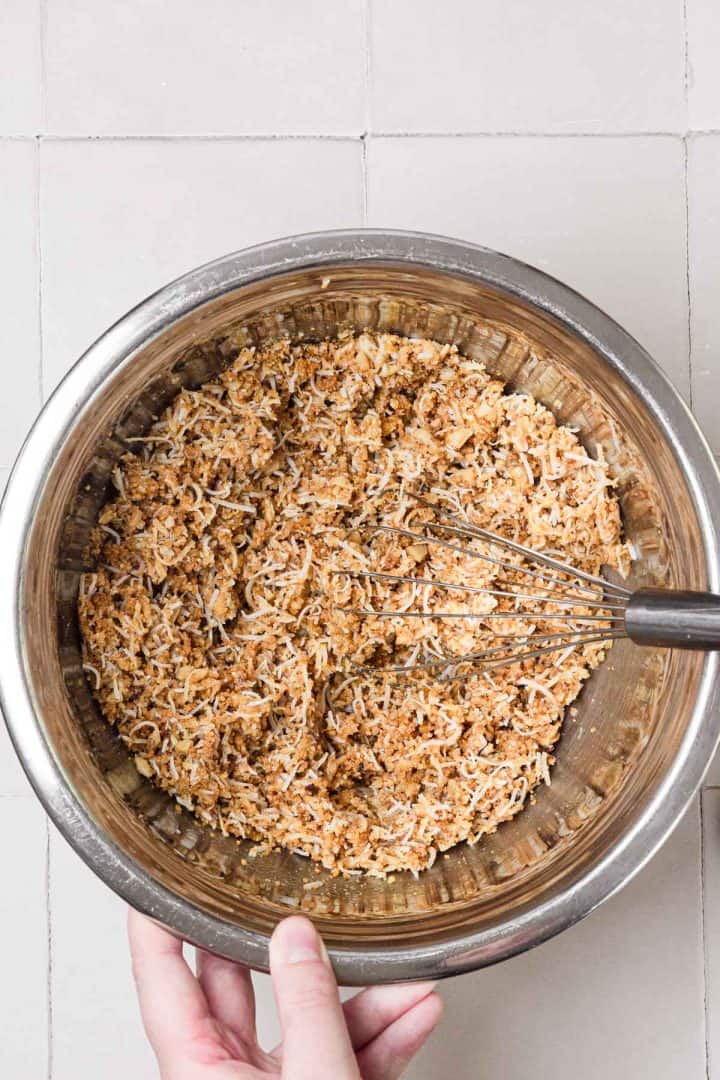
- At first, the mixture may seem crumbly, but keep stirring until everything is coated.
- You’re looking for a texture similar to damp sand. When squeezed in your hand, it should hold together without feeling greasy. If dry crumbs remain at the bottom of the bowl, continue mixing until they disappear.
Press the Base Into the Pan
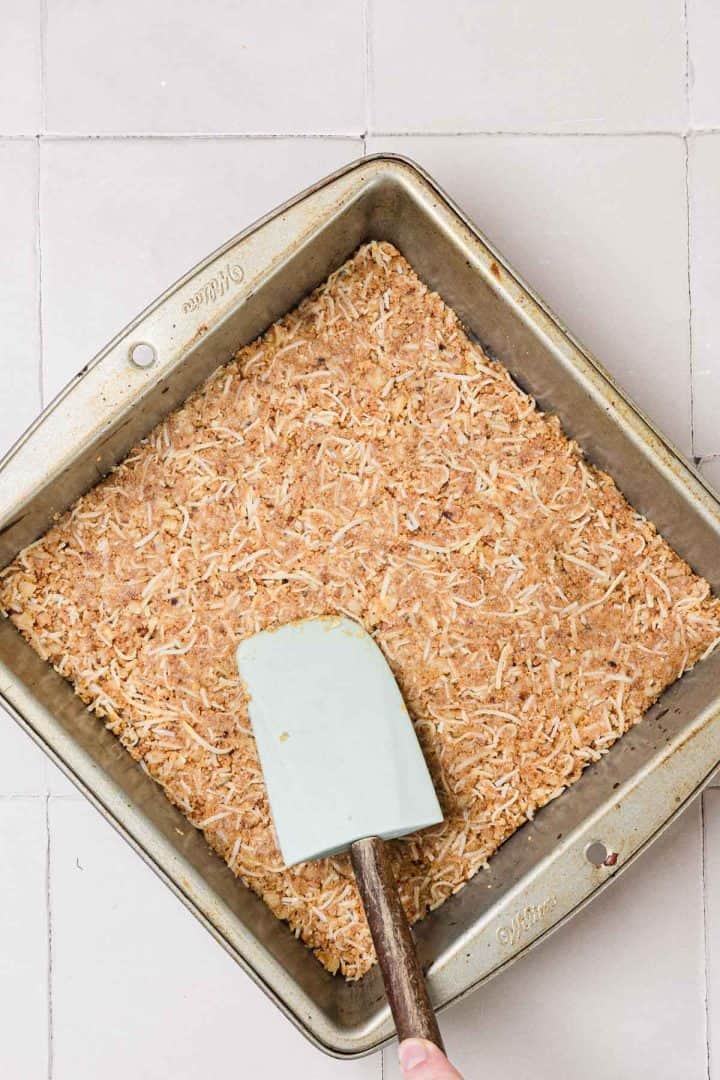
- I like using the bottom of a measuring cup or a spatula because it creates smooth corners and a compact base.
- Take your time with this step. If the base isn’t packed tightly enough, the bars can crumble later when sliced. The surface should look level and feel firm when lightly pressed with your fingertips.
- Place the pan in the refrigerator while preparing the filling. Chilling gives the base time to settle and makes spreading the next layer much easier.
Beat the Butter and Custard Powder
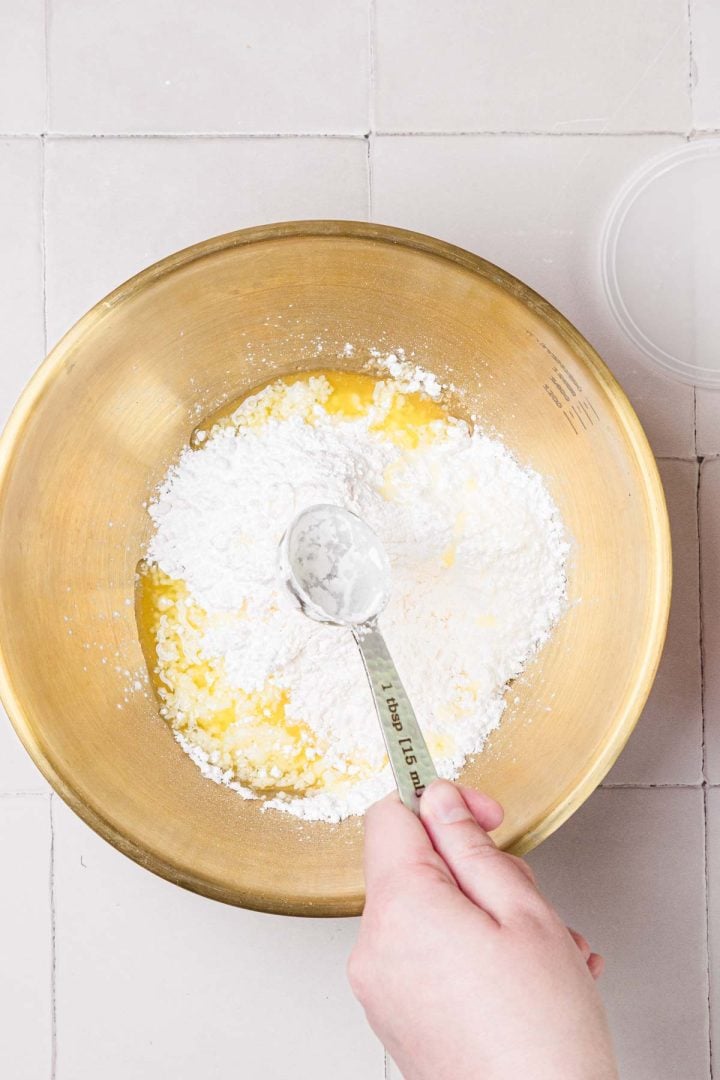
- There shouldn’t be any lumps left before adding the custard powder.
- After mixing in the custard powder, the color will become slightly pale and the mixture should look smooth. If your butter is still cold, you may notice small pieces that refuse to blend. Allow it to sit at room temperature for a few more minutes before continuing.
Create the Creamy Middle Layer

- At first, the mixture may seem too thick, though it comes together as you continue beating.
- The finished filling should resemble thick frosting. It should spread easily but hold its shape without running. If it feels stiff and crumbly, add a small splash of milk. If it becomes too soft, refrigerate it briefly before spreading.
- One thing I’ve learned over the years is not to rush this stage. A smooth filling creates those clean layers that make Nanaimo bars so recognizable.
Spread and Chill the Filling
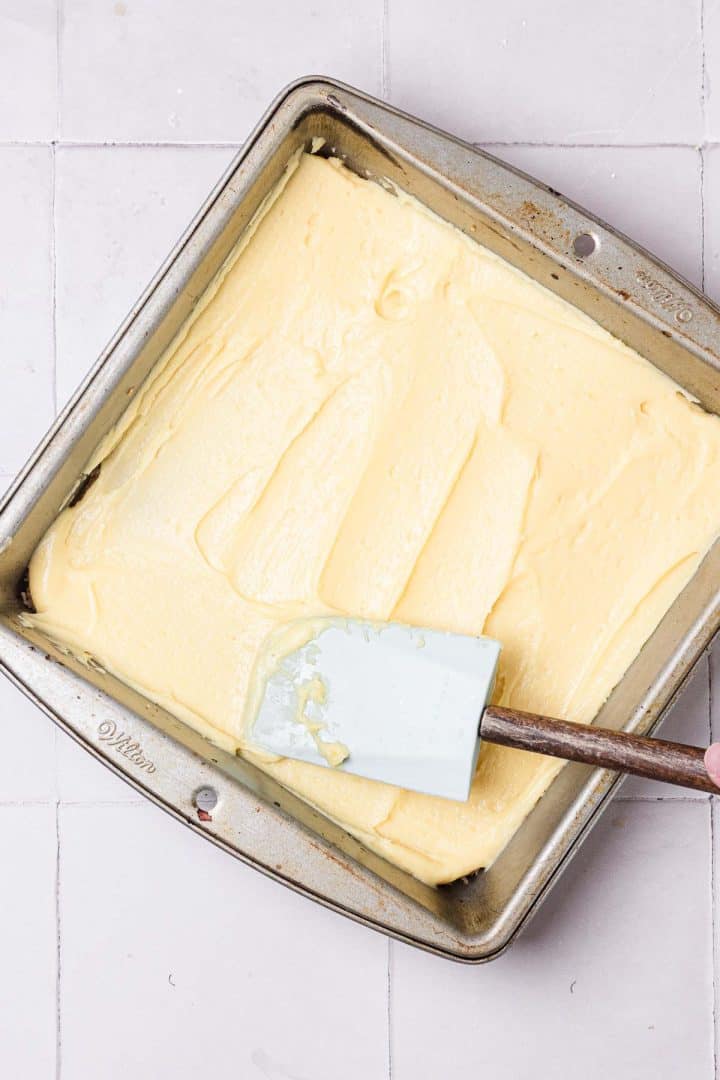
- An offset spatula helps create a smooth surface, though the back of a spoon works too.
- Try not to press too hard. Too much pressure can pull crumbs from the base into the filling.
- Return the pan to the refrigerator and let the middle layer firm up. It should feel cool and slightly set before the chocolate goes on top. If it’s still soft, the layers may shift when the chocolate is added.
Melt the Chocolate
- Place the chocolate and butter in a heatproof bowl and melt them slowly. Whether using a double boiler or the microwave, stir frequently between intervals.
- The chocolate should become glossy and completely smooth. Stop heating as soon as the last pieces melt. Overheated chocolate can become thick and lose its silky texture.
Add the Chocolate Layer
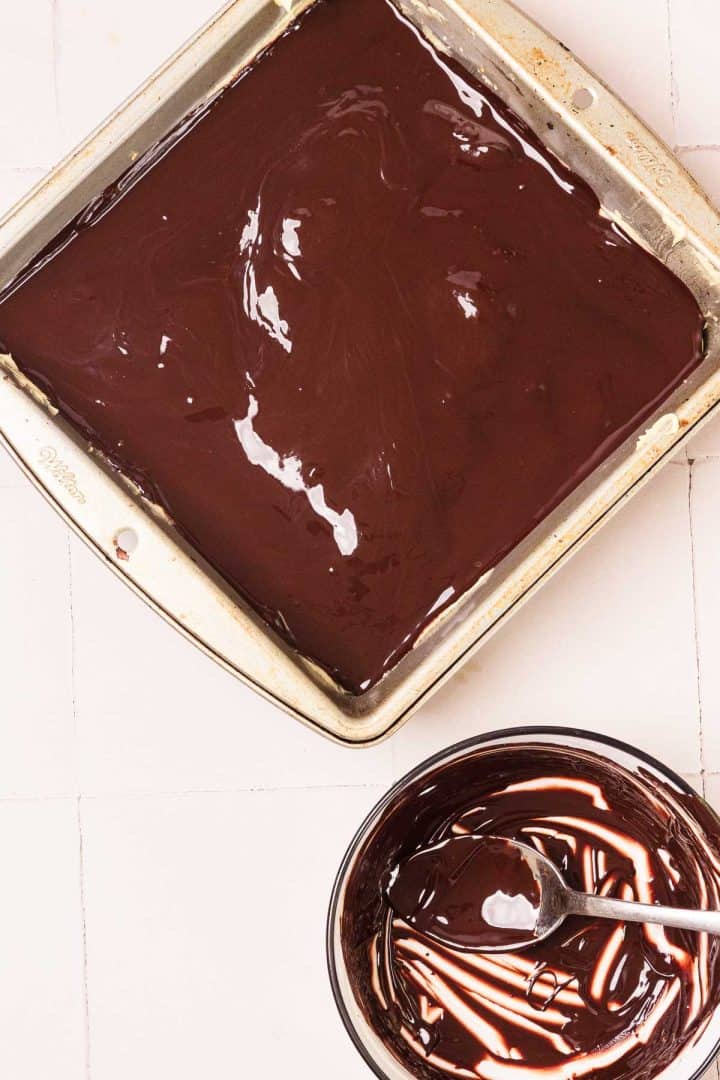
- Pour the melted chocolate over the chilled filling and gently tilt the pan so it spreads evenly. Use a spatula to smooth the top if needed.
- Because the filling underneath is cold, the chocolate will begin setting fairly quickly. Work steadily, though there’s no need to rush.
- A very thick chocolate layer is more likely to crack later, so spreading it evenly helps create cleaner slices.
Refrigerate Until Firm
- Place the completed bars in the refrigerator and allow them to chill completely. After a couple of hours, the top should feel firm when lightly touched.
- The layers continue to settle as they chill. I often make these bars the evening before serving because they slice even better the next day.
Slice the Bars
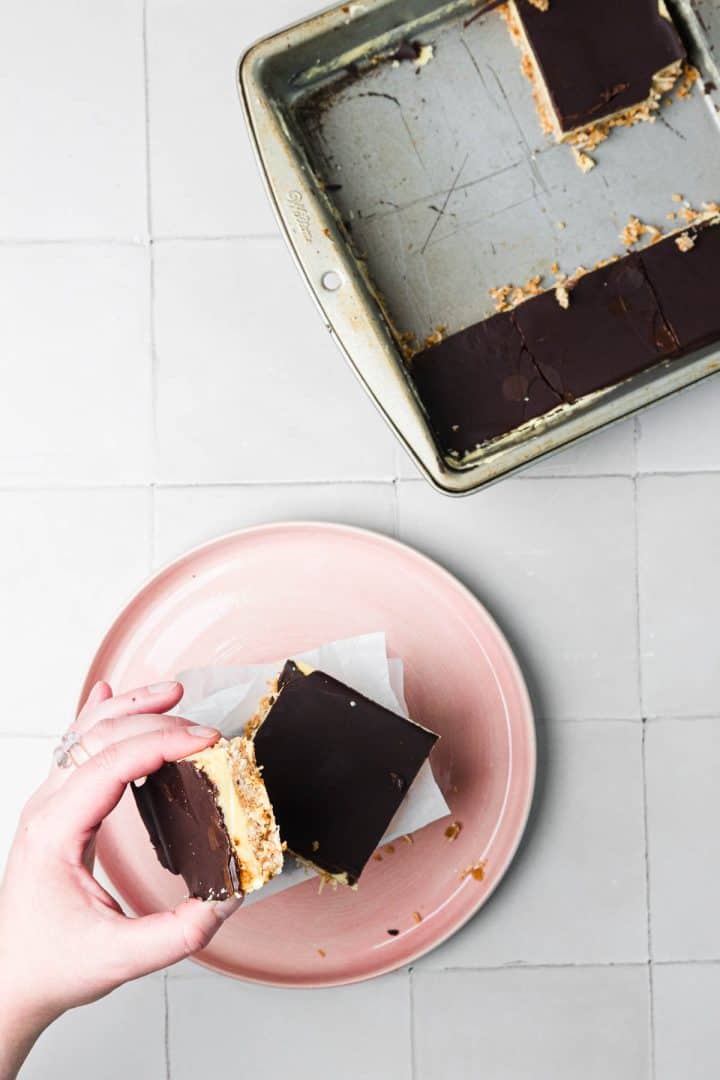
- Straight from the refrigerator, the chocolate layer can be too firm and may crack.
- Dip a sharp knife into hot water, wipe it dry, and cut slowly. Clean the knife between slices to keep the layers distinct.
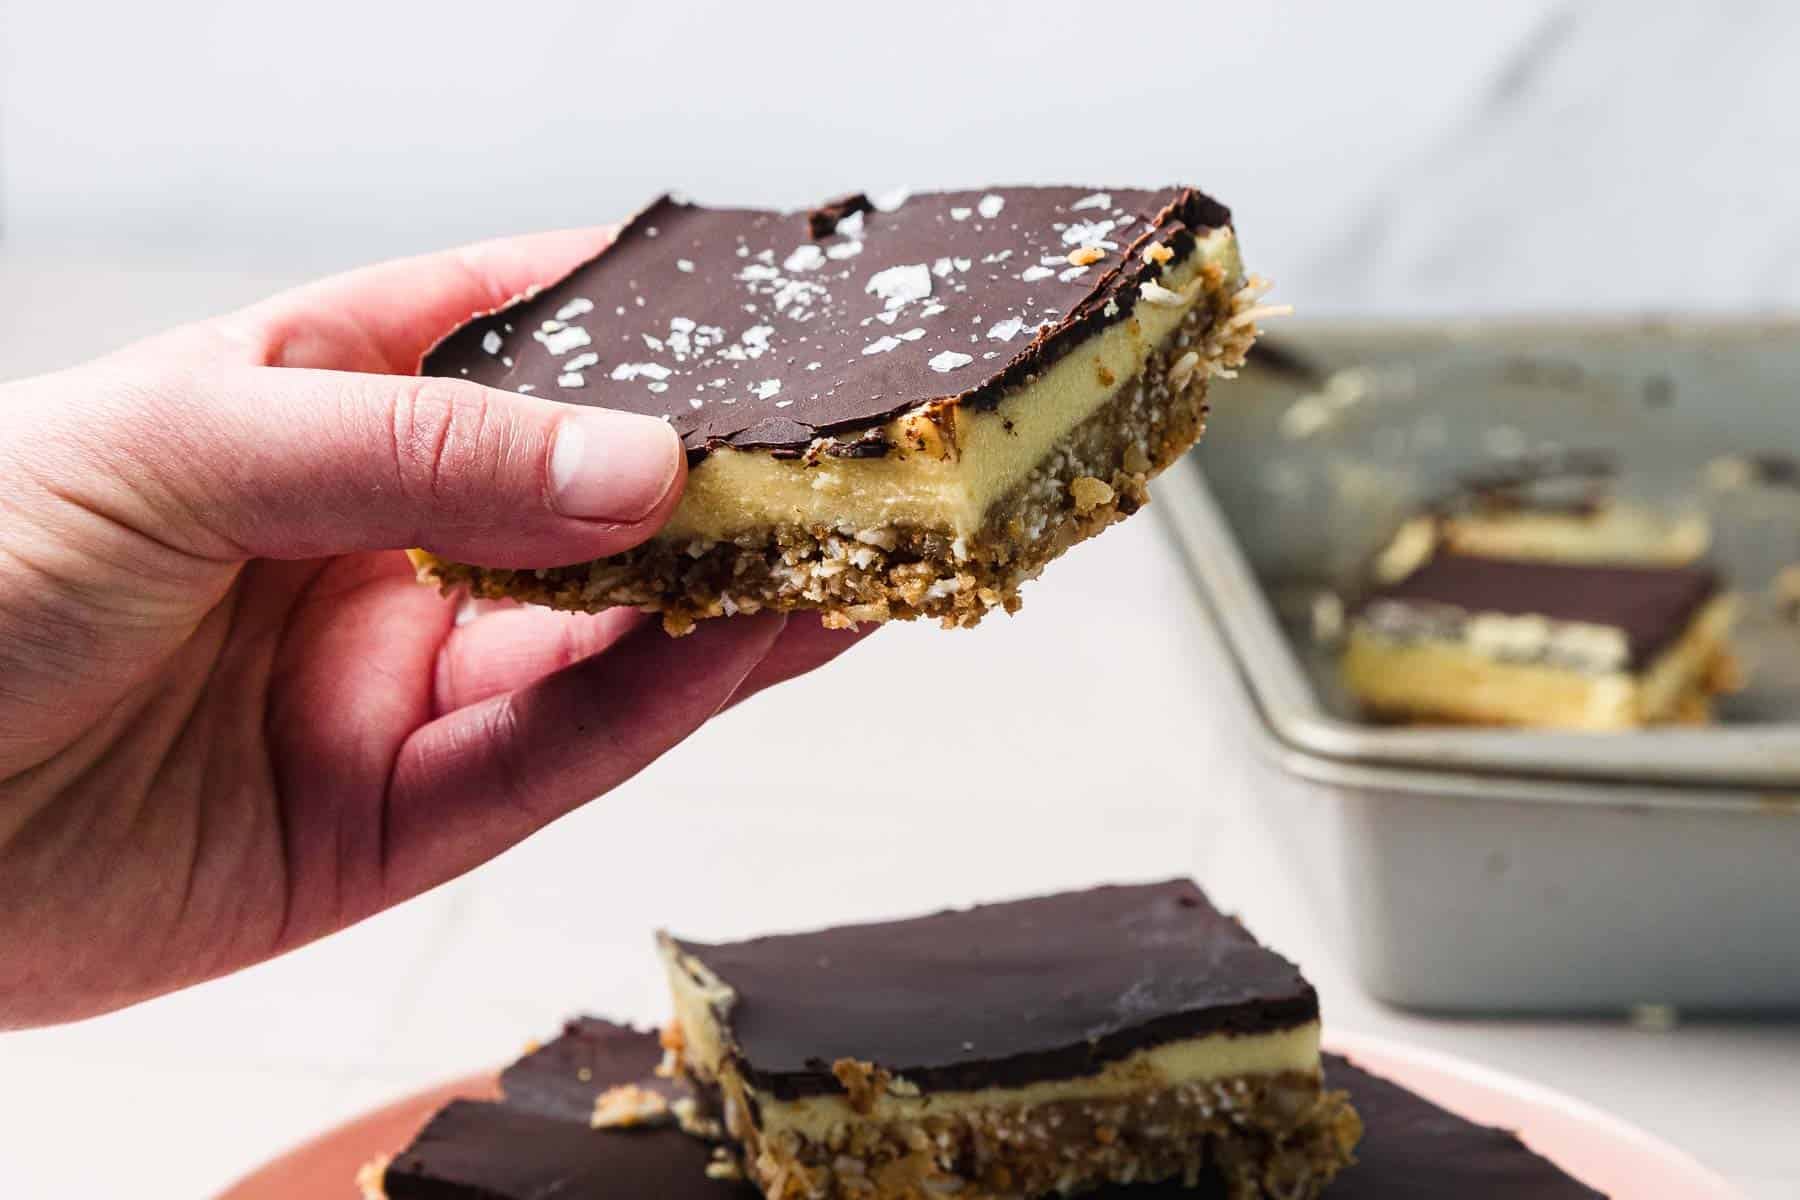
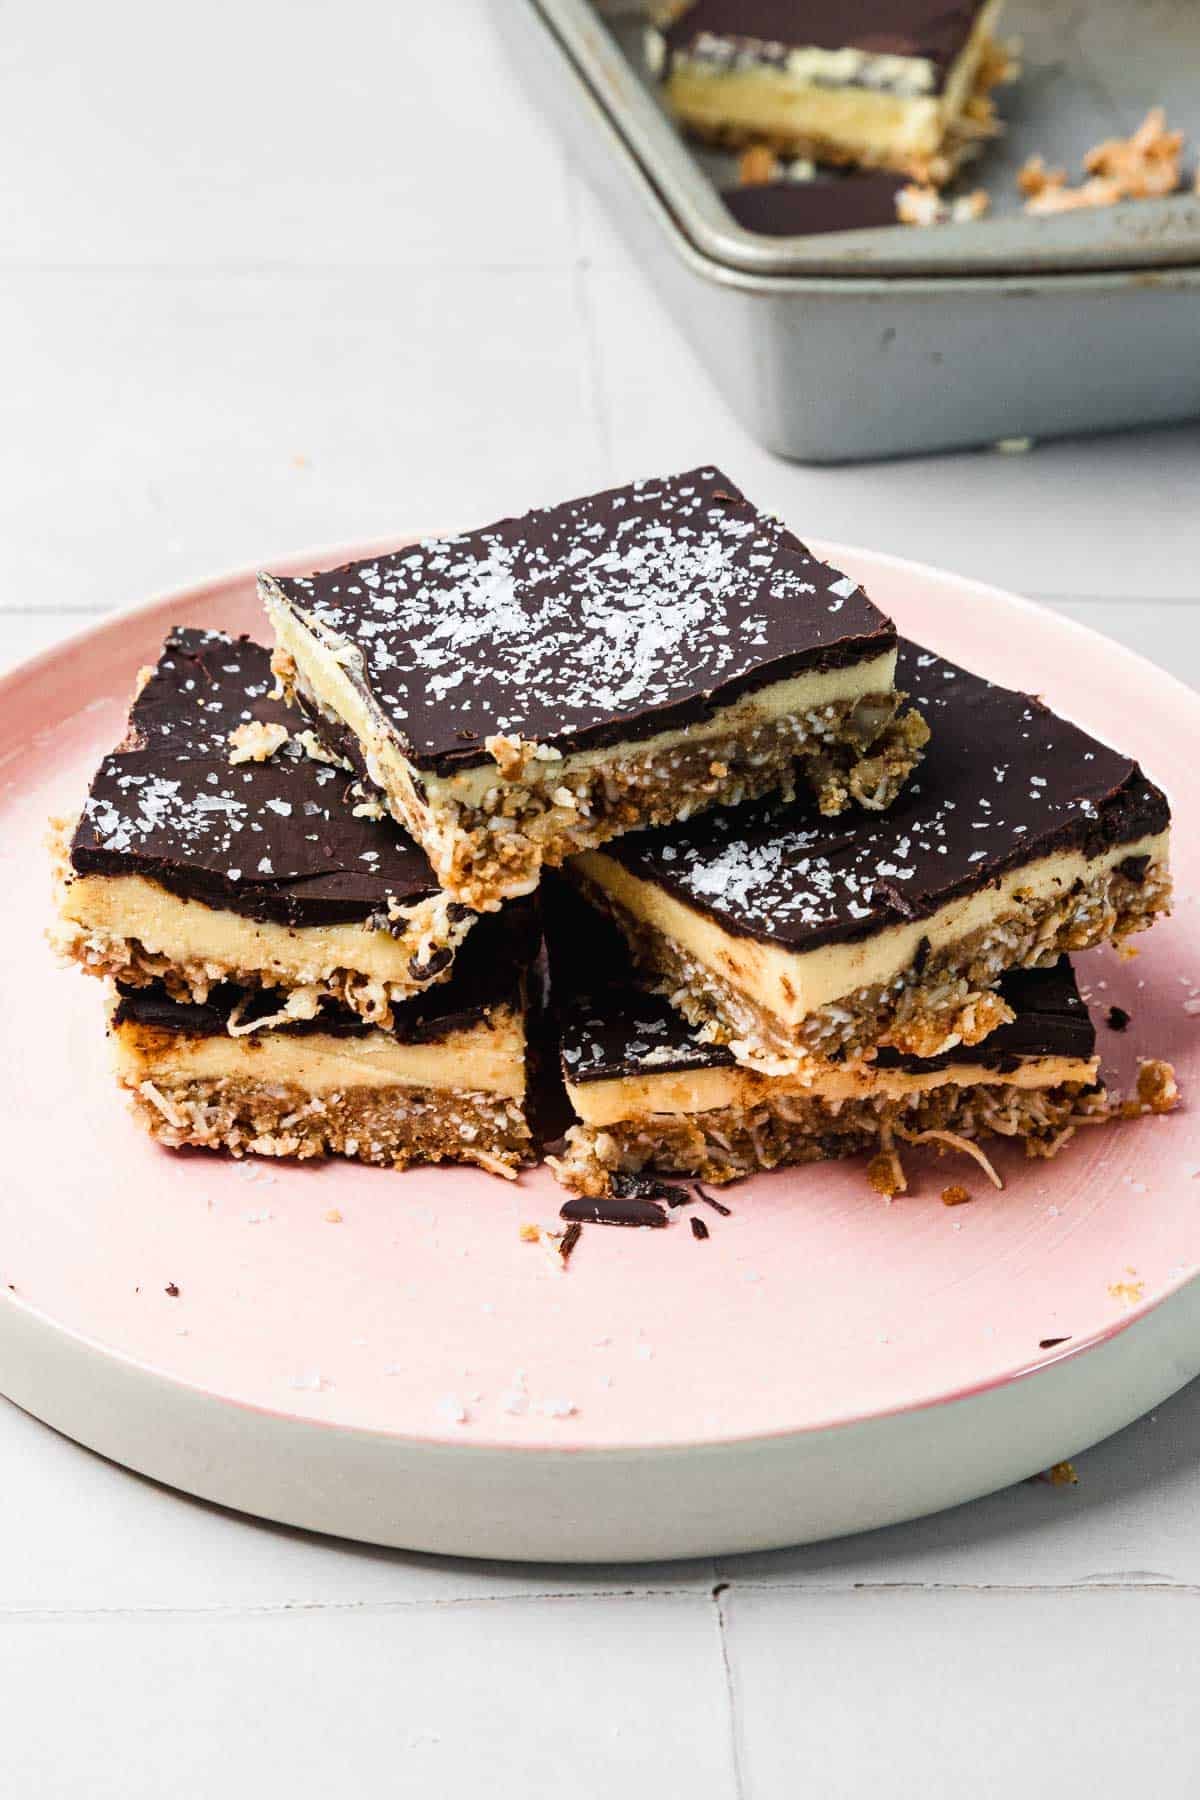
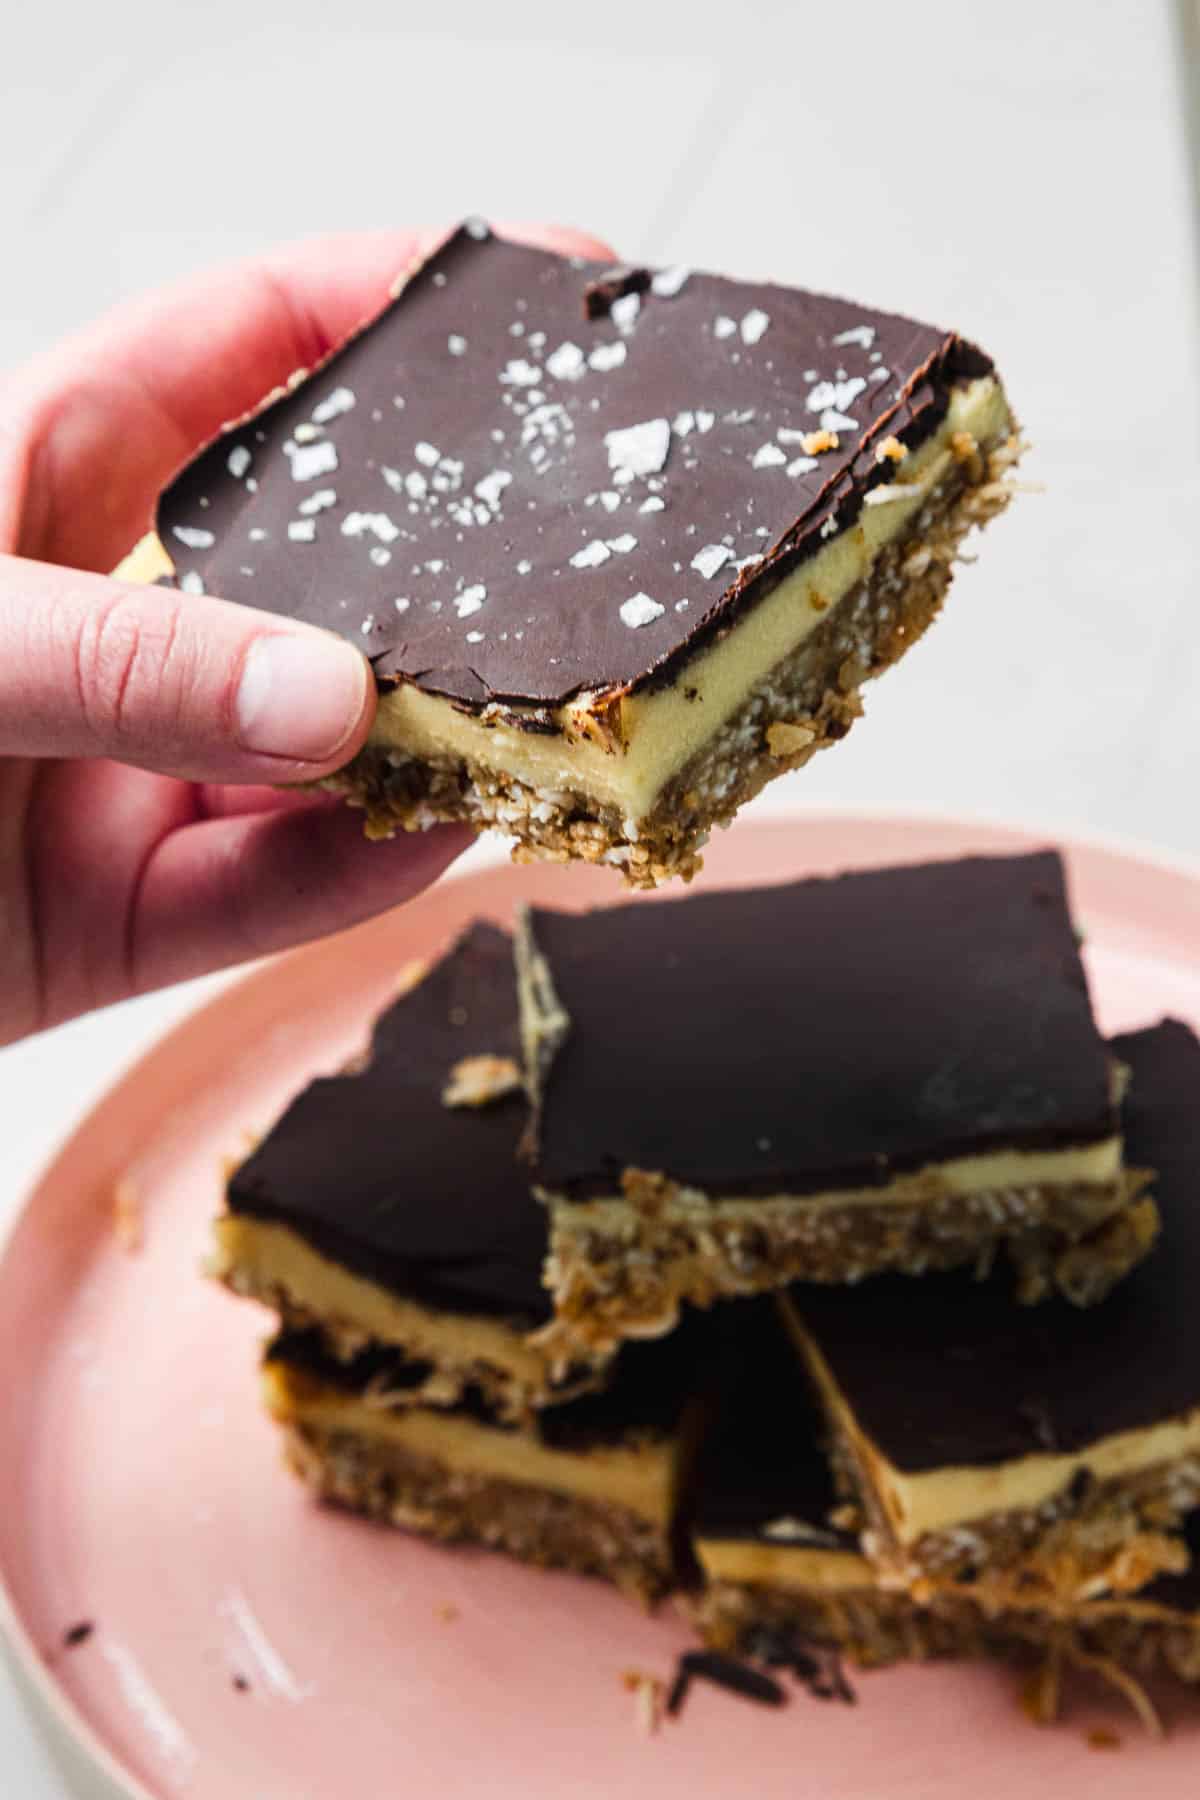
- You should see three clear layers: a sturdy coconut and nut base, a creamy custard center, and a smooth chocolate top. That’s when I know the bars are ready for the table.
Storage
Store gluten-free Nanaimo bars in an airtight container in the refrigerator for up to 1 week, placing parchment paper between layers if stacking. The bars often slice even more cleanly after a day in the fridge.
For longer storage, freeze them for up to 3 months in a freezer-safe container with parchment between the layers. Thaw overnight in the refrigerator or let them sit at room temperature for 20 to 30 minutes before serving. Avoid leaving the bars at room temperature for long periods, as the custard filling softens and the chocolate layer can lose its structure.
FAQs
A crumbly base usually means it wasn’t pressed firmly enough into the pan or the bars were cut before they had fully chilled. The base should feel compact before refrigerating, and the finished bars need several hours to set before slicing.
This usually happens when too much milk is added or the butter is overly soft. The filling should resemble thick frosting and hold its shape when spread. If it becomes too loose, refrigerate the mixture for a few minutes before assembling the bars.
Yes, though the flavor and color will be slightly different. Vanilla pudding mix is the closest substitute, though traditional Bird’s custard powder gives the bars their characteristic creamy filling that many Canadians recognize.
Chocolate can lose its shine if it becomes overheated. Melt it slowly, stirring frequently, and stop heating as soon as the last pieces have melted. A small amount of butter helps create the smooth, glossy finish associated with classic Nanaimo bars.
Recipe
Tried and loved this recipe? Please leave a 5-star review below! Your reviews mean a lot to me, so if you’ve got any questions, please let me know in a comment.
Gluten-Free Nanaimo Bars
Creamy, chocolatey, and no-bake, these gluten-free Nanaimo bars disappear quickly.
Prevent your screen from going to sleep
Equipment
-
8-inch square baking pan
-
Medium mixing bowl
-
Electric mixer
-
Measuring Cups and Spoons
-
Offset spatula or spoon
-
Heatproof bowl
-
Double boiler or microwave
-
Sharp Knife
Ingredients
For the Base Layer
- 1 cup gluten-free graham cracker crumbs
- ½ cup chopped walnuts or almonds
- 1 cup unsweetened shredded coconut
- ¼ cup melted butter
- 1 large egg beaten
For the Middle Layer
- ¼ cup softened butter
- 2 tablespoons custard powder
- 2 cups powdered sugar sifted
- 2 tablespoons milk
For the Chocolate Layer
- 4 ounces semi-sweet chocolate chopped
- 1 tablespoon butter
Instructions
Make the Base
-
In a large bowl, stir together the gluten-free graham cracker crumbs, chopped nuts, and shredded coconut until evenly mixed.
Prepare the Custard Filling
-
Beat the softened butter until smooth. Add the custard powder, then gradually mix in the powdered sugar and milk until the filling becomes thick, creamy, and spreadable.
Nutrition
Calories: 149kcalCarbohydrates: 22gProtein: 1gFat: 13gSaturated Fat: 9gPolyunsaturated Fat: 0.4gMonounsaturated Fat: 3gTrans Fat: 0.3gCholesterol: 33mgSodium: 64mgPotassium: 90mgFiber: 2gSugar: 3gVitamin A: 225IUVitamin C: 0.1mgCalcium: 16mgIron: 1mg
Measuring Cups and Spoons
Double boiler or microwave
")


Post Comment